

Could a single flat surface transform a short routine into a safe, strength-building habit you actually stick with?
This guide shows how a simple wall adds structure and tactile feedback to low-impact Pilates training. Experts like Vanessa Johnson, N.P.C.P., and certified instructor Callie Jardine back a brief plan that protects the low back and hips while activating deep abdominals.
Expect clear, science-backed steps: a 15-minute starter sequence you can repeat, or a 30-minute session with warm-up, targeted moves, and stretches. You’ll use a mat, a flat wall, a timer, and water—no complex gear.
Coaching cues focus on neutral spine, feet placement, and organized shoulders so your body learns safe patterns. The routine blends strength and mobility so you feel practical benefits in daily fitness without joint strain.
Key Takeaways
- Short, expert-approved sessions protect the back while building core strength.
- The wall provides tactile support to improve feet placement and form.
- Plans include a 15-minute routine and a 30-minute option with warm-up and cool-down.
- No fancy gear needed—just a mat, a timer, and a clear wall space.
- Clear cues and progressions help you scale intensity safely over time.
What Is Wall Pilates and Why It’s Perfect for Beginners
Adding a stable surface helps you feel alignment and recruits deep stabilizers with less strain.
This variation adapts mat practice to give tactile cues and joint-friendly support so you can learn precise positions safely.
Wall pilates is a style of traditional pilates adapted to a vertical surface, where hands or feet press into a stable plane. This contact provides instant feedback on alignment and helps you sense neutral spine and hip position.
Experts note this method mirrors many mat moves and acts like a reformer foot bar. That mimicry gives steady foot placement and a clearer sense of how to drive through the feet and engage the core and surrounding muscles.
Key benefits: low-impact training, extra support for sensitive joints, clearer cues for core and hip stability, and simple progression to mat or equipment sessions.
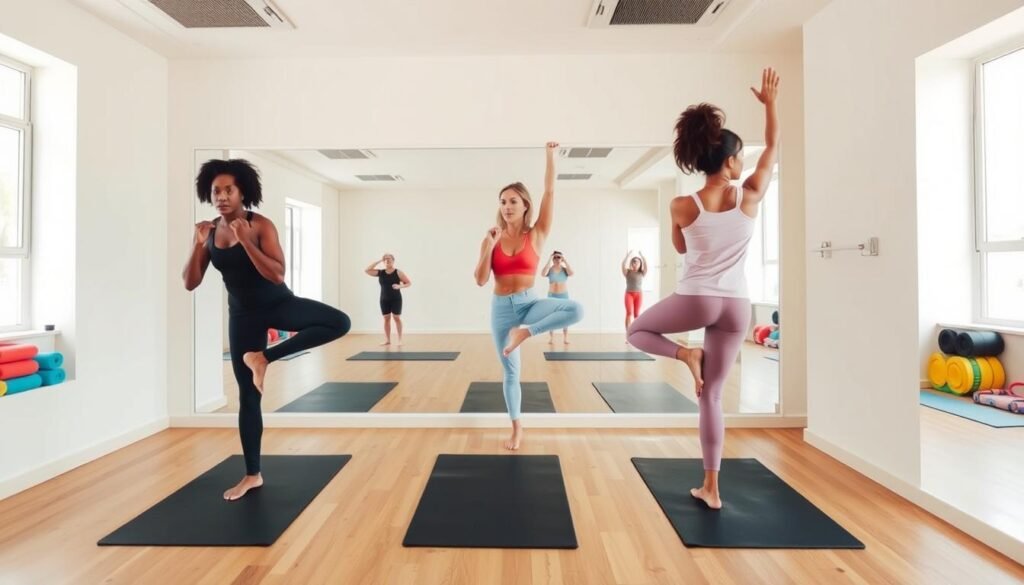
- Simple setup with minimal gear and tactile guidance means fewer form errors without an on-site pilates instructor.
- Small adjustments in hand or foot contact shift effort across the body so you can scale intensity safely.
- Elevating the feet may aid circulation and reduce cramps while improving balance and control.
| Feature | What it does | Beginner benefit | Progression |
|---|---|---|---|
| Surface feedback | Improves foot and hand placement | Faster learning of neutral spine | Move to mat without support |
| Reformer-like mimic | Offers stability similar to a foot bar | Better balance and control | Advance to single-leg challenges |
| Low-impact loading | Reduces stress on hips and back | Safer strength building | Increase reps or tempo |
Want to try a guided sequence? See a short sample session at this guided routine to see how common moves translate to a supported format.
Set Up for Success: Space, Equipment, and Safety Basics
A tidy, stable practice area helps you focus on alignment and steady progress. Small setup choices protect your joints and make technique clearer.
What you need:
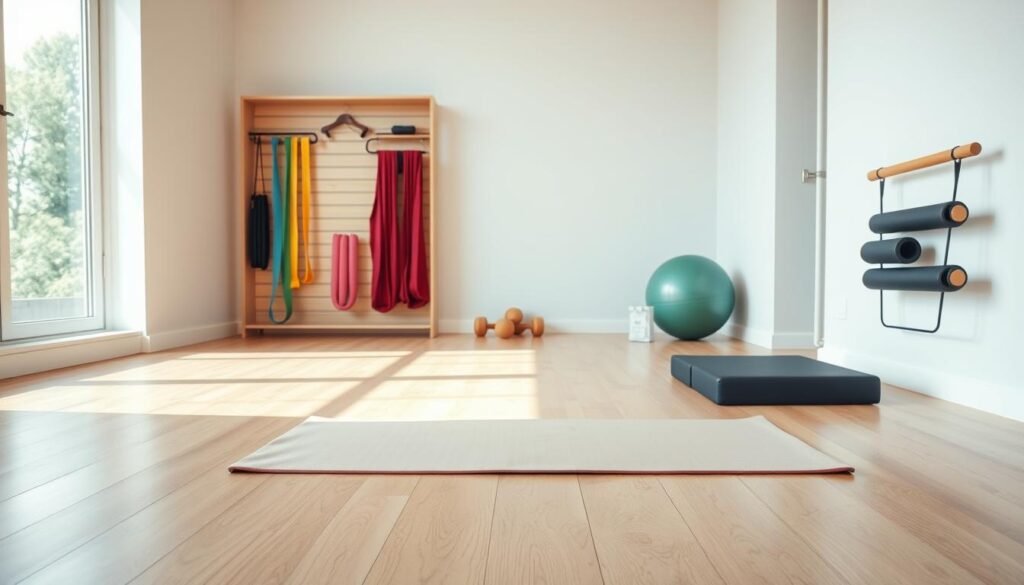
- Choose a clear area with a sturdy, flat wall and enough room to extend your legs and arms without bumping furniture.
- Gather basic equipment: a mat, water, towel, and a timer to manage seconds and rest. Consider grip socks or a flat, stable shoe rather than cushioned runners.
Body position cues
Use consistent cues: feet touching the back wall with knees near 90 degrees, a neutral spine, ribs stacked, and relaxed shoulders.
Keep the chest soft and reach slightly through the lower arms when you need extra balance. Drive evenly through each foot to protect the pelvis and back.
Safety first
Start with brief warm-ups—march in place, arm circles, and standing cat-cow—to prime the shoulders, chest, and hips.
Protect the lower back by bracing the core: think “exhale to engage” before lifts. If you feel strain, shorten range or move closer to the wall support.
| Setup | Why it matters | Quick tip |
|---|---|---|
| Clear area + flat wall | Prevents bumps and keeps alignment consistent | Place mat so hips can reach the floor smoothly |
| Mat, timer, towel, water | Comfort, timing, grip, and hydration | Use a stopwatch for seconds-based holds |
| Grip socks or flat shoes | Better contact than cushioned runners | Shoes with a flat base aid balance |
If you want deeper context on movement patterns and injury prevention, see these functional training tips: functional training tips.
Wall Pilates Workout for Beginners: Step-by-Step Routine
These step-by-step drills help you feel which muscles engage while keeping the lower back safe. Short sets, clear cues, and measured rests make this circuit easy to repeat and progress.
Start with the warm-up below to prep shoulders and spine.
Warm-up
Perform standing cat‑cow for 10 rounds to mobilize the spine and open the chest. Follow with arm circles forward and backward to prime the shoulders and hands.
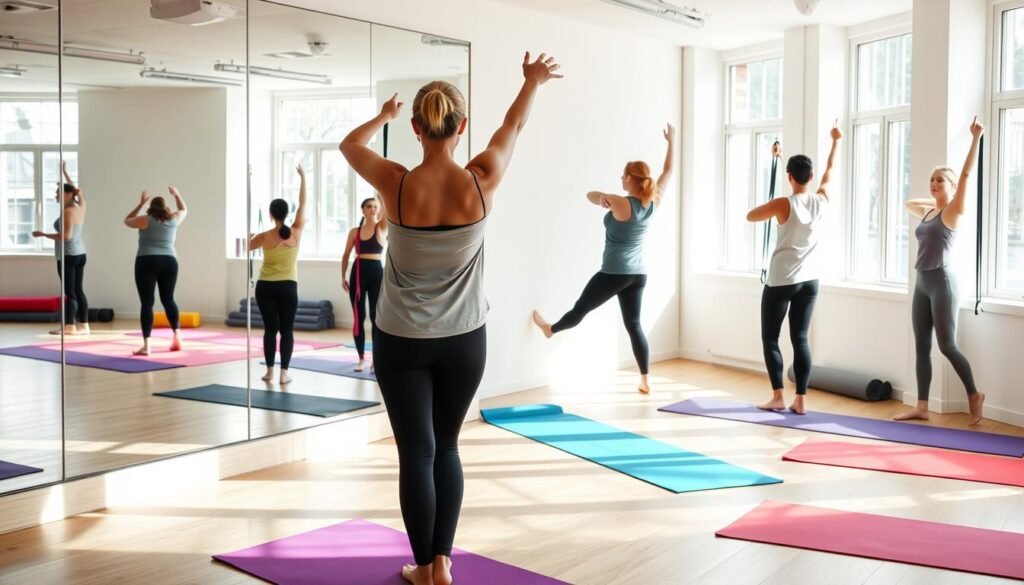
Single‑leg knee crunch — 15 reps each side
Lie on the mat with both feet on the back wall in tabletop. Extend one leg to a diagonal and exhale to curl the ribs up. Draw the knee in with control while the opposite foot keeps even pressure.
Wall bridge with calf raise — 15 reps
Press both feet into the wall and lift hips until ribs stack over the pelvis. Avoid arching the back. Pause, then rise onto the balls of the feet for a calf raise before lowering heels and hips slowly.
Marching bridge — 10 reps each leg
Hold a stable bridge with feet wall contact. Alternate drawing one knee toward the chest. Keep the pelvis level and brace the core to prevent tilt.
Reach backs — 10 each side
From a high plank with balls of the feet on the wall, lift hips to an A‑frame and reach one hand to the opposite foot or shin. Return to plank with a long spine and steady shoulders.
Wall sit with calf and shoulder raise — 15 reps
Slide down until hips and knees form ~90°. Keep a proud chest and neutral position. Raise arms to tap the wall, then perform a smooth calf raise, rolling through the foot.
Optional circuit add‑ons
Add wall push‑ups (3 sets of 8–10) or forearm wall plank holds (30–45 seconds) to boost upper‑body strength and control.
- Rest 30–45 seconds between moves and repeat the circuit 1–2 times.
- Use simple cues: drive evenly through each foot, breathe on effort, and relax the neck and shoulders.
Want demo variations and a longer session? See a practical sequence at a quick routine and broader movement options at an A–Z exercise guide.
Form Fixes, Modifications, and Progressions
Small alignment changes protect the lower back and let the right muscles work. Keep cues simple and repeatable so progress is steady and safe.
Common mistakes to watch:
- Avoid shrugging the shoulders toward the ears; soften and draw them down.
- Keep ribs from flaring—knit them gently toward the core so the spine stays neutral.
- Make sure hips and back share the load; don’t let the lower back overcompensate.
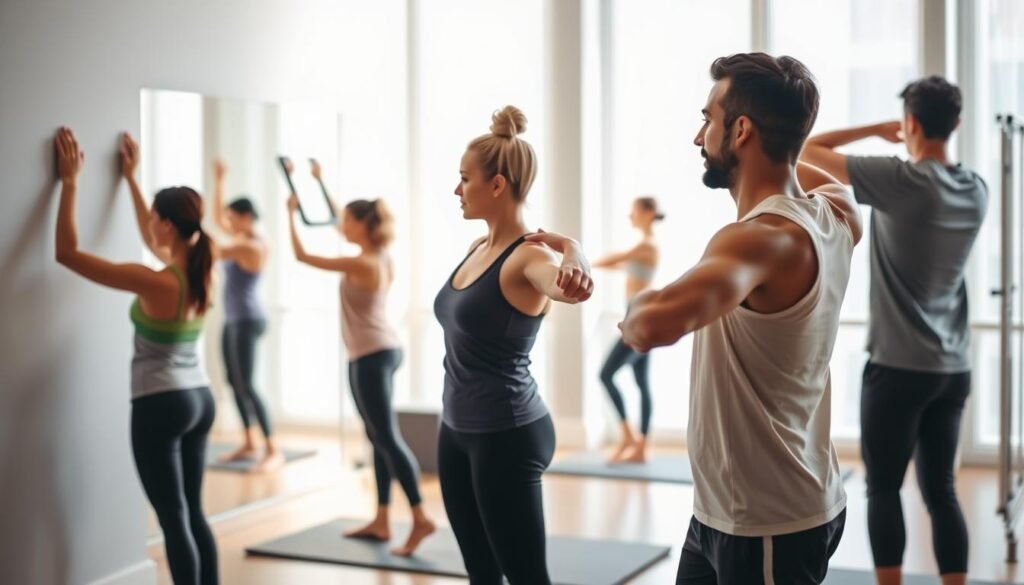
Beginner-friendly modifications
Reduce range, cut reps or seconds, and move closer to the wall to increase stability. Use a slower tempo to keep the core engaged and protect the lower back.
Progressions to build strength
Add precise moves as control improves: leg circles to enhance hip stability and abdominal control; roll-ups to advance anterior chain and pelvic stability; spine twist to target the obliques and scapular stabilizers.
Include single-leg kickbacks to load the posterior chain—glutes and hamstrings—while maintaining shoulder contact and avoiding neck strain.
How to keep intensity honest
Count clean reps and time controlled seconds. If form slips, stop and reduce reps rather than forcing the last set. Prioritize feeling the muscles work over momentum.
Use the wall strategically while learning, then rely on position awareness more than surface support as you progress. For a structured program that complements these progressions, try this best routine or review functional movement tips in this functional movement tips.
Your Weekly Plan: Reps, Seconds, and Recovery that Build Strength
Treat progress like compound interest: small, regular sessions add up into lasting strength. Keep sessions short, measurable, and consistent so you can build strength without burning out.
Follow a clear schedule and track simple metrics to make steady gains.
Beginner schedule
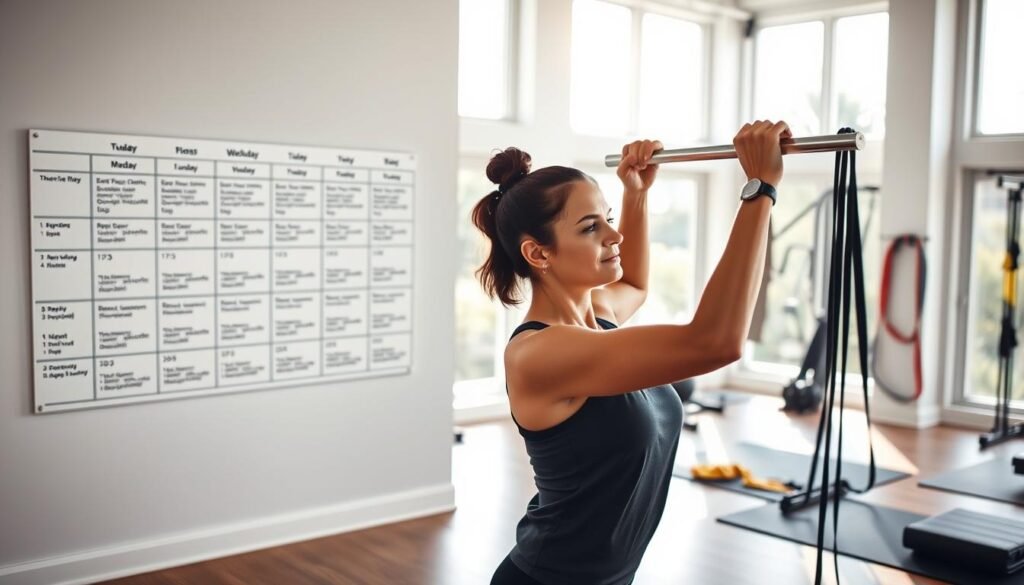
Follow 3–4 sessions per week, starting at 15–20 minutes and working toward 25–30 minutes. Structure each session with a warm-up, one full circuit, then repeat 1–2 times as energy allows.
Recovery essentials
Rest 30–60 seconds between blocks. Finish each session with breathwork and gentle mobility for the hips and hamstrings to ease tightness in the lower back.
Track your progress
- Log clean reps and timed holds in seconds (aim for wall plank holds of 30–45 seconds as you advance).
- Note fewer pelvic or shoulder wobbles and more even pressure through each foot on the back wall.
- Rotate focus days — one session on glutes/legs, the next on upper-body and core — to balance total strength.
Scale safely: add short skill blocks like wall push-ups (8–10 reps × 3) once form is steady, and remember that consistent sessions plus good sleep and nutrition guide weight and fitness changes.
For a sample weekly layout, see this weekly pilates routine and practical no-gym fitness tips to support consistency.
Conclusion
Finish each session knowing small, steady steps create the biggest gains in posture and control.Short, consistent sessions with clear reps and wall contact build core stability and whole-body strength without excess joint stress.
Repeat the 15‑minute sequence or use the 30‑minute option 3–4 times per week to see benefits in weeks. Track reps and timed holds, add one upper‑body block if you want more load, and extend cool‑down mobility on the tight side.
These accessible exercises pair well with balanced nutrition, sleep, and daily walks to support fitness and weight goals. Reassess progress in 4–6 weeks and consider the weekly program at this guided plan or explore broader movement options in the A–Z exercise guide.
FAQ
What is wall pilates and how does using a wall mimic a reformer foot bar?
Wall pilates uses a vertical surface as a stable anchor to guide limb placement and resist movement, similar to a reformer foot bar. Pressing your feet or hands into the wall provides tactile feedback and support, helping you maintain alignment, recruit core and hip muscles efficiently, and safely challenge balance without extra equipment.
What basic equipment and space do I need to start?
You only need a sturdy, unobstructed wall, a non-slip mat, and optional grip socks or stable footwear. Keep a timer, towel, and water nearby. Clear enough floor space for lying and bridging movements and ensure the wall surface is solid and free from obstacles.
How should I position my body for feet-on-wall exercises to protect my lower back?
Place feet flat on the wall with hips lifted into a bridge or slightly bent knees around 90 degrees when standing variations. Maintain a neutral spine, engage the deep core (think of gently drawing the navel toward the spine), and keep shoulders relaxed away from ears to avoid lower back strain.
Are these exercises safe if I have lower-back pain or spinal issues?
Many wall-supported moves are low-impact and can reduce load on the spine, but always check with a healthcare provider first. Start with reduced range, keep core engaged, avoid pain-provoking positions, and prioritize breathing and control. If symptoms increase, stop and consult a specialist.
What does a beginner routine look like and how many reps should I do?
A concise routine includes a warm-up (standing cat-cow, arm circles), then single-leg knee crunches (about 15 reps each side), wall bridges with calf raises (15 reps), marching bridges (10 reps each leg), reach-backs/Down Dog taps (10 each side), and wall sits with calf and shoulder raises (15 reps). Repeat the circuit 1–3 times based on fitness and fatigue.
How can I modify moves if I lack strength or balance?
Reduce range of motion, lower rep counts, hold positions for shorter seconds, keep both feet on the wall instead of single-leg work, or place a yoga block under hips for support. Use the wall primarily for balance and increase support by widening foot placement or keeping hands on the wall.
How do I progress exercises as I gain strength?
Progress by increasing reps or holds in seconds, adding controlled leg circles or roll-ups, incorporating spine twists and single-leg kickbacks, or transitioning to wall push-ups and wall planks for more upper-body load. Focus on slower tempos and precise alignment rather than speed.
Which muscles benefit most from these moves?
You’ll strengthen the core (deep transverse abdominis and obliques), glutes, hamstrings, calves, shoulders, and upper back. The wall also challenges stabilizers around hips and ankles, improving balance and functional strength.
How often should I do these sessions and how long should they last?
Aim for 3–4 sessions per week, 15–30 minutes each. Begin with one circuit and progress to 2–3 circuits as endurance improves. Allow at least one full recovery day between higher-intensity sessions to support muscle repair.
What are common form mistakes to watch for?
Avoid shrugging shoulders toward ears, flaring the ribs, overarching the lower back, and letting hips drop or rotate. Keep neutral spine, engaged core, and maintain shoulder alignment. Quality of movement beats quantity every time.
Can I include upper-body strength work without extra equipment?
Yes. Use the wall for push-ups, wall planks, and shoulder raises performed standing with wall support. These variations load chest, shoulders, and triceps while keeping the exercise low-impact and accessible.
How do I cool down and protect my hips and hamstrings after a session?
Finish with gentle mobility: standing hamstring stretches, supine knee-to-chest holds, and prone or seated spinal twists. Breathe deeply to release tension, and spend extra time on any tight calves or lower-back areas to aid recovery.
How should I track progress over time?
Log reps, holds in seconds, number of circuits, and qualitative notes like stable hips, ease of breath, or reduced pain. Track balance improvements (longer single-leg holds) and strength gains (more reps or advanced variations) weekly to monitor steady progress.
Are grip socks or footwear better when using the wall?
Grip socks increase traction and foot stability on vertical surfaces and are convenient for barefoot-style training, while stable, low-profile shoes add extra protection and support. Choose what feels secure and lets you maintain alignment without slipping.